Assembly Video for VERVE Commercial Half Rack
VERVE Commercial Half Rack

$990
$1,499
The new upgraded VERVE Commercial Half Rack is the perfect companion for anyone who trains with free weights and is keen to save a bit of space. Designed to withstand the use (and abuse) of even the busiest gym, the VERVE… read more
Video Transcript:
Hey, guys, welcome back to another VERVE Assembly video today.
We're going to be assembling the commercial half rack with
the West Side spacing.
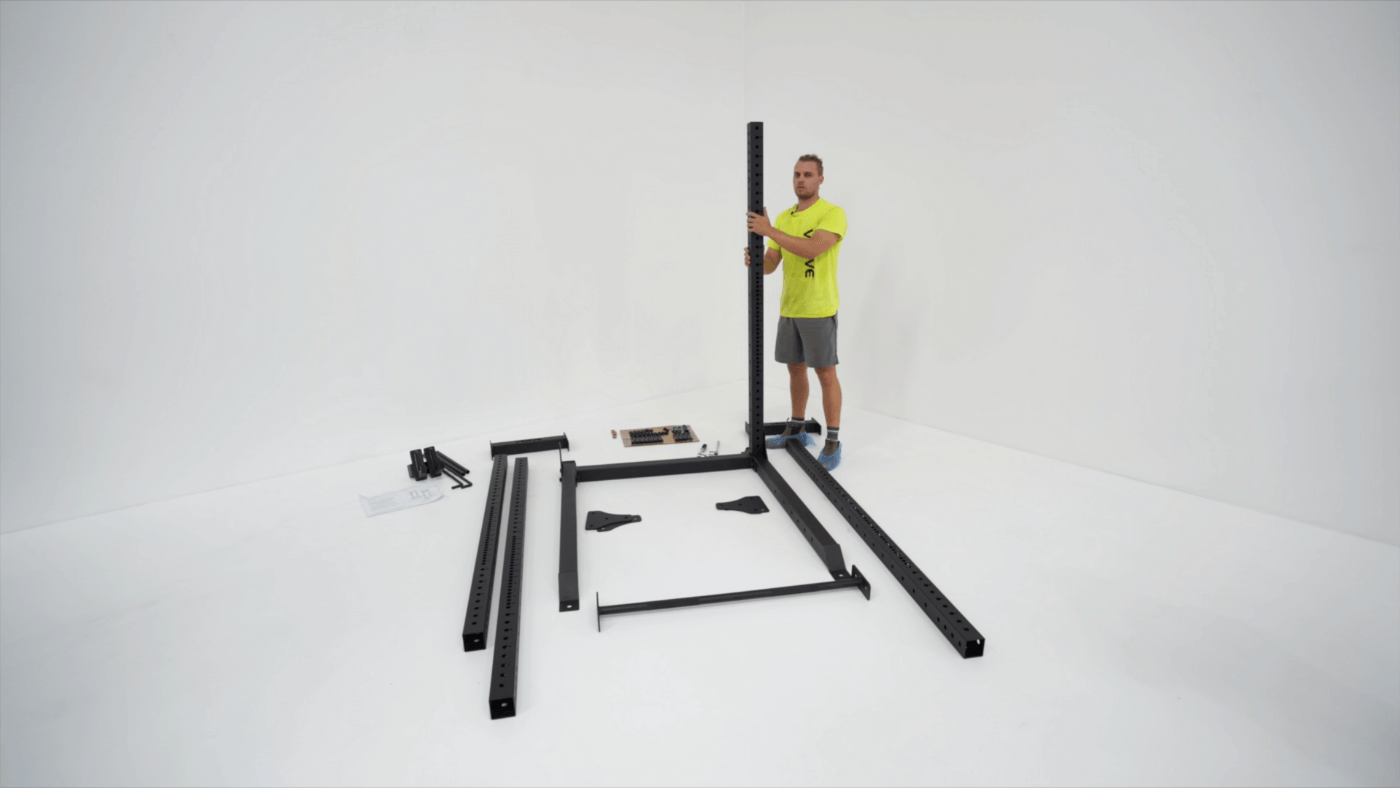
I'll take you through each part how I've got it laid out
on the floor and the way we're going to assemble it and which
bolts to use in the correct order.
So you can follow along with your half rack home.
So the first step, the way I got it laid out here, we're
going to install the bottom frame first with one bracket
on each side.
So they're going to go like this.
And what you'll see in the Bolt pack, we've got twelve of
these M 16 bolts that are slightly longer than the 16 of
the shorter ones.
So if you can see one is slightly shorter.
These longer ones are for when we're going through the brackets.
So we're going to have twelve in total.
So we're going to start with the longer ones for this bottom
bracket. The tools that I'm using, I'm using a 24 mm socket.
And then you can either use a wrench on the other side or
if you have another extra socket, you can use that for Imperial.
It's 15,16 of an inch, and we'll just finger tighten them
for now until we get the bottom frame complete.
And then we'll go around and tighten go and same on the other
side. And now that we've got the four on, we're going to
go through and tighten those to get the bottom frame solid
just like that.
So they can't go anymore.
And all the nuts have the Lock tight as well.
So they're not going to come loose at any point.
And that's nice and tight.
So the next step we are going to do, we're going to go through
the back upright.
These are going to be the shorter upright.
So you got two here.
We're going to go through the shorter one numbers facing
the front in a place that there and we'll get our bolts ready
and then you can stand it up.
And if you have another person to hold it while you put the
Bolt through, that will be recommended.
This is going to be the shorter Bolt set because there's
only one bracket on one side.
Now up right here, I can see the holes that are going through
and just FingerTight.
So you get both bolts through.
Now that we have both of these sides on, we're going to do
the larger upside side with the brackets on each side.
So I'm going to prepare the longer bolts for this one.
I'm going to need all four for each side.
So eight in total, the remaining large ones, four on each
side, eight washes on each side.
Now for the next part, I do recommend that you get someone
to help you with the uprights because we are dealing with
the taller ones and they can be quite heavy.
So I got Toby here.
I'm going to hold the brackets.
He's going to hold the upright for me.
And we're just going to place the bolts through so you can
place the brackets into the bottom first, but you don't want
to tighten them completely.
And now, as Toby put this in place, I'll just feed the bolts
through. So now that we have this one in with the bolts,
just finger tight, we are going to leave them loose to be
able to get the small cross beam in.
You can have VERVE facing in or VERVE facing out.
So we're going to get the bolts and see, since it's loose,
we're going to be able to place that in there.
So we'll get the bolts ready.
And it's recommended that you have an assistant help you
with this part, too, so you can both hold up right and get
the bolts.
So it can be quite tricky with one person.
So it's going to go through hole 51 and 48.
And while he holds that, there is just going to FingerTight
all the bolts and nothing can slip off.
And then they're going to go through the top holes of the
back upright.
Okay.
So now that we've got the cross beam on, we're going to go
through and tighten the whole bottom section, get that solid.
And then we'll move on to the next side.
So we'll be tightening the bottom bracket first and then
the upright, and then we'll tighten this top section.
So now that that's all tight, we've tightened everything
on that side.
We're going to replicate everything we did.
But for the left side.
All right.
Now that we've got both sides the same and they're all completely
tight, what we're going to do is we're going to do the pull
up bar for the last bit.
So we got four bolts remaining of the shorter ones.
And I was going to get my assistant just to just move the
rack side.
Just push each side out so you can get the pull up bar into
position. If you don't have anyone to help you, you can just
leave one side a little bit loose and then get the pull up
bar in that way and you can adjust the height, whatever height
that you want to.
I'm going to put it on the top setting on the furthest Bolt
and on 54.
I'm just going to finger tight these ones put in place and
same on the other side.
So now that's in position, just finger tight, we'll just go
ahead and tighten it, and that's going to be everything completely
tightened up.
All right.
Everything is tightened up and ready to go.
We're just going to put on the accessories that you'll get
with it.
So you'll have the safety pins that you can set to whatever
exercise you're doing.
So we'll put those in.
So you're going to slide it in from the front.
First we're going to go to number 20, then get it slightly
in a little bit, and then the safety pipe is going to go
over the pin to protect it.
Line it up with the corresponding number on the back.
Same on the other side.
And there we go.
We're going to put the J hooks on now.
Final touch.
And that's it.
Now.
You're ready to train.
Thanks for joining.
From the assembly video of the commercial half rack with
Westside Spacing thank you very much.


